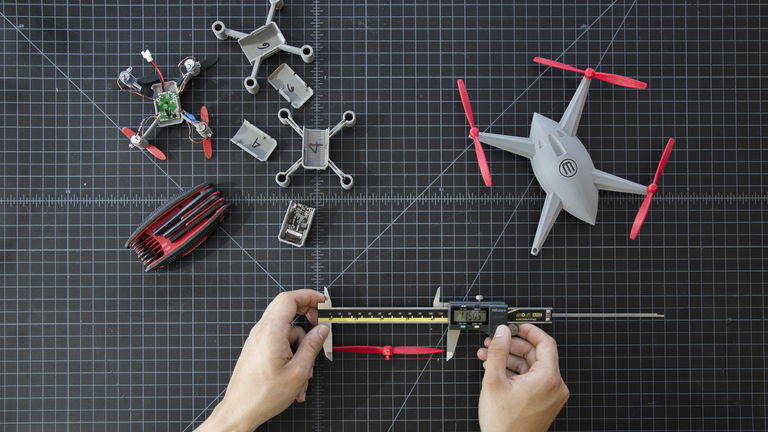
Welcome to our tutorial series on building a quadcopter. In the first part, we’ll cover the components and assembly of the quadcopter/multicopter. Then, we’ll discuss using a Raspberry Pi with different sensors and devices on the quadcopter. If you’re not interested in adding a Raspberry Pi to your quadcopter, the initial tutorials focus solely on assembling the quadcopter and flying it using a transmitter. The quadcopter we’ll be building is:”

Why would you consider building a custom quadcopter or drone instead of buying one from a store? Well, when you’re tinkering with things, there’s a higher chance of accidentally breaking, damaging, or crashing them, and this holds true for quadcopters too. The problem with store-bought drones is that they often come with proprietary parts. This means that the company has a monopoly on those specific components and charges accordingly. On the other hand, if you build your own quadcopter, you have the flexibility to easily swap out motors, propellers, frames, and other elements as you see fit.
Despite the benefits of building your own quadcopter, it can be challenging to figure out all the necessary components and how to assemble them. When I first started, I wasn’t aware that not all motors spin in the same direction, for example. So, there can be some initial hurdles to overcome.

The first decision you need to make is the size of your quadcopter or drone. There are different sizes available, but the most popular options are a 250 size for custom quadcopters and around 500 size for commercial drones. The number corresponds to the diagonal distance between the motors. Initially, I chose a 525 size, but I found it to be quite large and not as enjoyable to fly. It also causes more damage if it crashes and requires more space to fly safely. On the other hand, a 250 size is incredibly fun to fly, allows for quick maneuvers, and doesn’t need as much space for safe flying. It’s important to note that a 500 size is not just double the size of a 250; it’s more like four times larger, so keep that in mind. In this tutorial, we’ll be building a 250 size quadcopter, but you’re free to choose any size you prefer. The required materials and building process are the same regardless of size, and the costs are also similar. Ultimately, it comes down to personal preference. Here’s an example of the different sizes:
I have chosen a slightly wider and longer frame to accommodate the Raspberry Pi and Grove Pi onboard. You can see them squeezed in there.

If you only want a remote-controlled quadcopter without any additional attachments, choose any frame you like. However, if you plan to add extra components, be careful in selecting your options. In the next tutorial, we will discuss the different parts involved.
The next tutorial:


